 English
-
 English
 -
 Français
 -
 日本語
日本語 -
 Deutsch
 -
 tiếng Việt
 -
 Italiano
 -
 Nederlands
 -
 ภาษาไทย
 -
 Polski
 -
 한국어
한국어 -
 Svenska
 -
 magyar
 -
 Malay
Malay -
 বাংলা ভাষার
 -
 Dansk
Dansk -
 Suomi
Suomi -
 हिन्दी
 -
 Pilipino
 -
 Türkçe
 -
 Gaeilge
 -
 العربية
 -
 Indonesia
 -
 Norsk
Norsk -
 تمل
تمل -
 český
český -
 ελληνικά
 -
 український
 -
 Javanese
 -
 فارسی
فارسی -
 தமிழ்
தமிழ் -
 తెలుగు
 -
 नेपाली
 -
 Burmese
 -
 български
 -
 ລາວ
ລາວ -
 Latine
 -
 Қазақша
 -
 Euskal
 -
 Azərbaycan
 -
 Slovenský jazyk
 -
 Македонски
 -
 Lietuvos
 -
 Eesti Keel
 -
 Română
 -
 Slovenski
 -
 मराठी
मराठी -
 Srpski језик
 -
 Español
 -
 Português
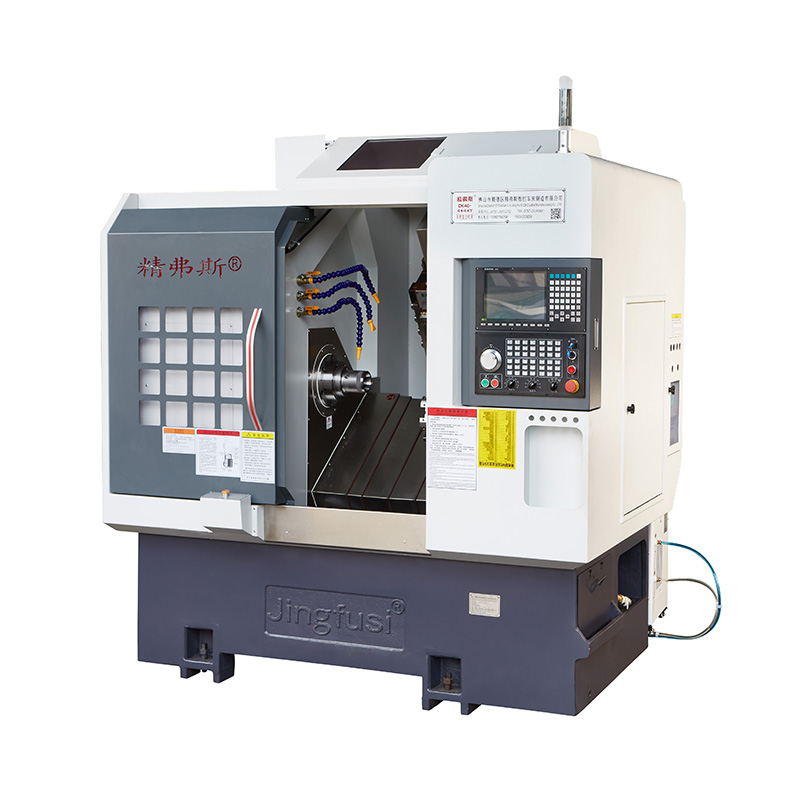
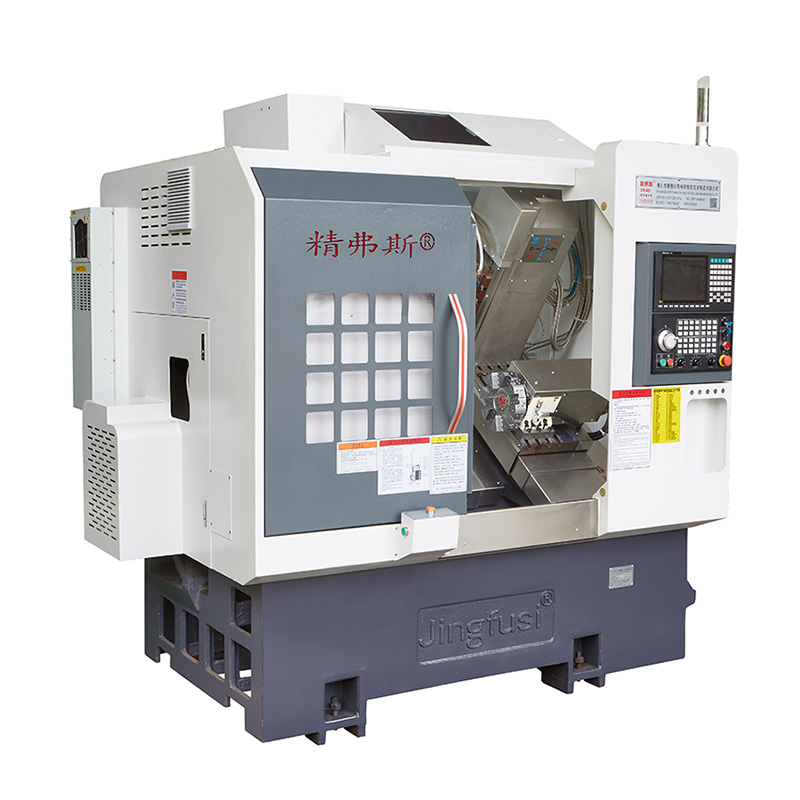
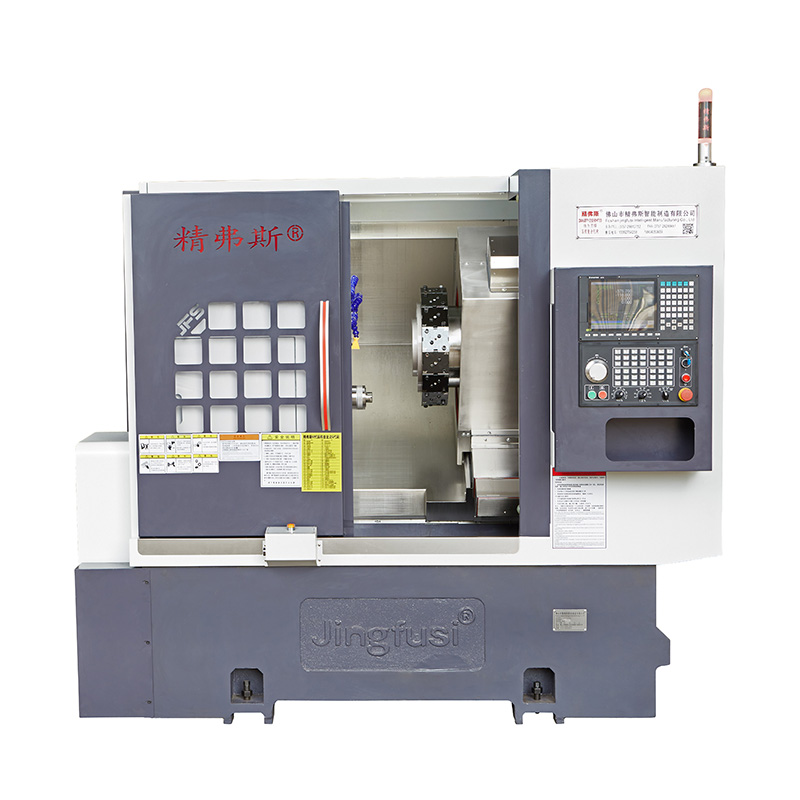
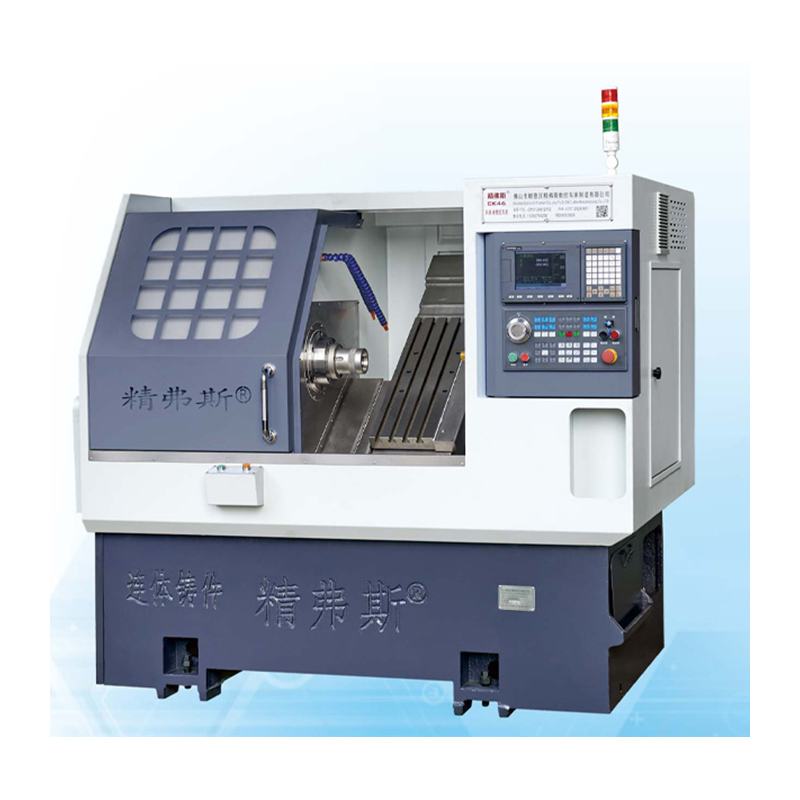
CNC Lathe with Inclined Bed and Row of Tools
High quality CNC Lathe with Inclined Bed and Row of Tools is offered by China manufacturer Jingfusi®. Buy CNC Lathe with Inclined Bed and Row of Tools which is of high quality directly with low price.
Send Inquiry
Product Description
Jingfusi® is a leading China CNC Lathe with Inclined Bed and Row of Tools manufacturer, supplier and exporter. Adhering to the pursuit of perfect quality of products, so that our CNC Lathe have been satisfied by many customers. Extreme design, quality raw materials, high performance and competitive price are what every customer wants, and that's also what we can offer you. Of course, also essential is our perfect after-sales service. If you are interested in our services, you can consult us now, we will reply to you in time!
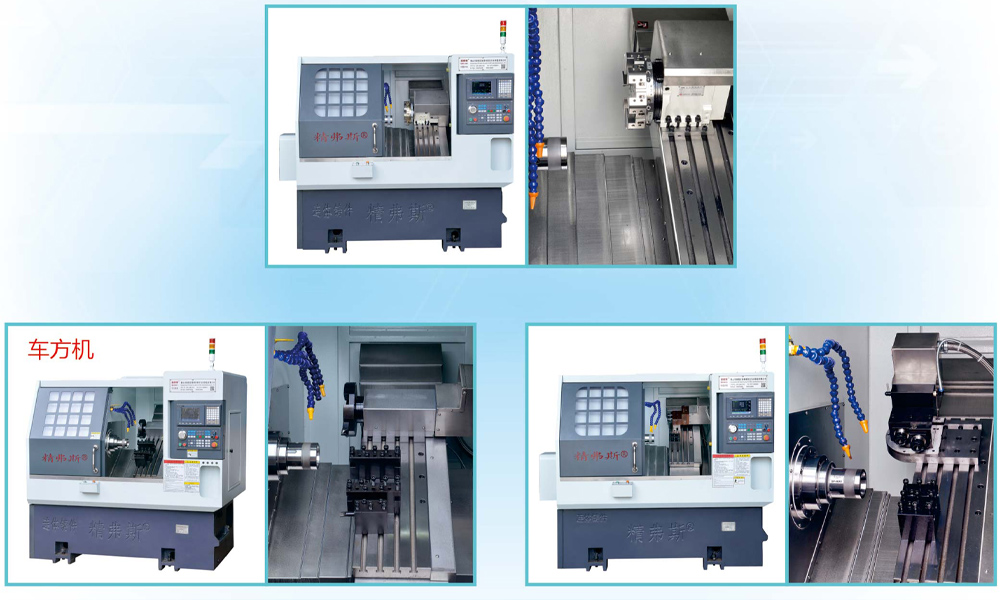
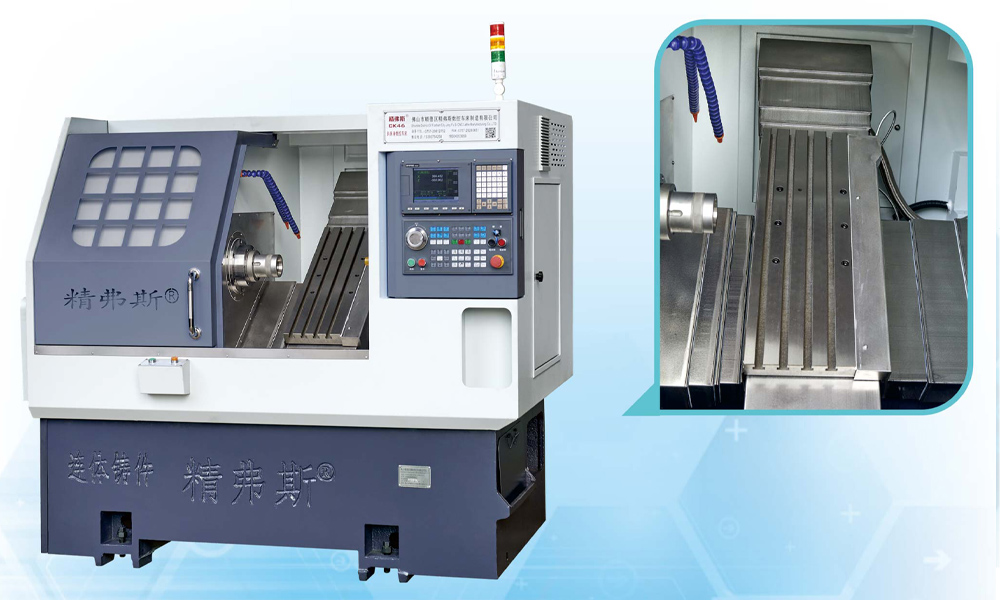
Machine Travel Diagram

Product Details

Parameter List
| Main Specification | |||
| Item | unit | Specification | Remark |
| Max. turning diameter | mm | 250 |
|
| Max. swing diam. over lathe | mm | Ø500 |
|
| Max. turning diameter through slide bed | mm | Ø160 |
|
| Slanting bed degree | degree | 35° |
|
| X-axis effective travel | mm | 1000 |
|
| Z-axis effective travel | mm | 400 |
|
| X/Z axis max. fast travel speed | m/min | 24 |
|
| Table size: L X W | mm | 700 x 290 |
|
| Machine size :L x W x H | mm | 2100x 1580 x 1800 |
|
| Machine net weight | kg | 2600 |
|
|
|
pcs | 8 |
|
| Square tools | mm | 20 x 20 |
|
| Hole knife size | mm | Ø20 |
|
| Total horse | kw | 13 |
|
| Average power consumption | kw/h | 2 |
|
| Spindle face form |
|
A2-5 | 52:A2-6;CK36:A2-4 |
| Spindle speed | r/min | 6000 | 52:4200;CK36:5000 |
| Spindle speed setting | r/min | 1-4500 | 52:1-3500;CK36:1-4500 |
| Spindle Rated Torque | Nm | 35Nm(1500 r/min) | 52:47.8nm;CK36:38Nm |
| Maximum bar diameter | mm | Ø45 | 52:Ø50;CK36::Ø50 |
Machine Tool Accuracy
| Machine accuracy,Jingfus factor standard : | ||||
| Major test item | Schematic diagram | Factory standard | ||
| Spindle radial beat, |
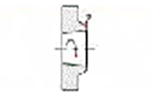 |
Detect runout of outer cone | 0.0035 | |
| X-axis repeat position,X |
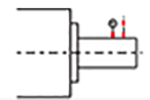 |
Detect repeated positioning of the X-axis. Note: First predict about 50 times to offset the error of the cold engine and hot engine, and then detect the repeated positioning. | 0.003 | |
| Z-axis repeat position,Z |
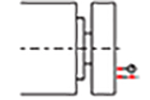 |
Detect repeated positioning on the Z axis. Note: First predict about 50 times to offset the error of the cold engine and hot engine, and then detect the repeated positioning. | 0.003 | |
| If the customer wants to test the ISO or VD1 accuracy of X/Z/Y axis, it shall be determined at the time of writing the contract. The customer must test this item at the same time of the initial acceptance of Jingfusi Factory. | ||||
Hot Tags: CNC Lathe with Inclined Bed and Row of Tools, China, Manufacturers, Suppliers, Factory, Quality, Price List
Send Inquiry
Please feel free to fill your inquiry in the form below. We will reply you in 24 hours.
X
We use cookies to offer you a better browsing experience, analyze site traffic and personalize content. By using this site, you agree to our use of cookies.
Privacy Policy


