 English
- English
-
 Français
 -
 日本語
日本語 -
 Deutsch
 -
 tiếng Việt
 -
 Italiano
 -
 Nederlands
 -
 ภาษาไทย
 -
 Polski
 -
 한국어
한국어 -
 Svenska
 -
 magyar
 -
 Malay
Malay -
 বাংলা ভাষার
 -
 Dansk
Dansk -
 Suomi
Suomi -
 हिन्दी
 -
 Pilipino
 -
 Türkçe
 -
 Gaeilge
 -
 العربية
 -
 Indonesia
 -
 Norsk
Norsk -
 تمل
تمل -
 český
český -
 ελληνικά
 -
 український
 -
 Javanese
 -
 فارسی
فارسی -
 தமிழ்
தமிழ் -
 తెలుగు
 -
 नेपाली
 -
 Burmese
 -
 български
 -
 ລາວ
ລາວ -
 Latine
 -
 Қазақша
 -
 Euskal
 -
 Azərbaycan
 -
 Slovenský jazyk
 -
 Македонски
 -
 Lietuvos
 -
 Eesti Keel
 -
 Română
 -
 Slovenski
 -
 मराठी
मराठी -
 Srpski језик
 -
 Español
 -
 Português


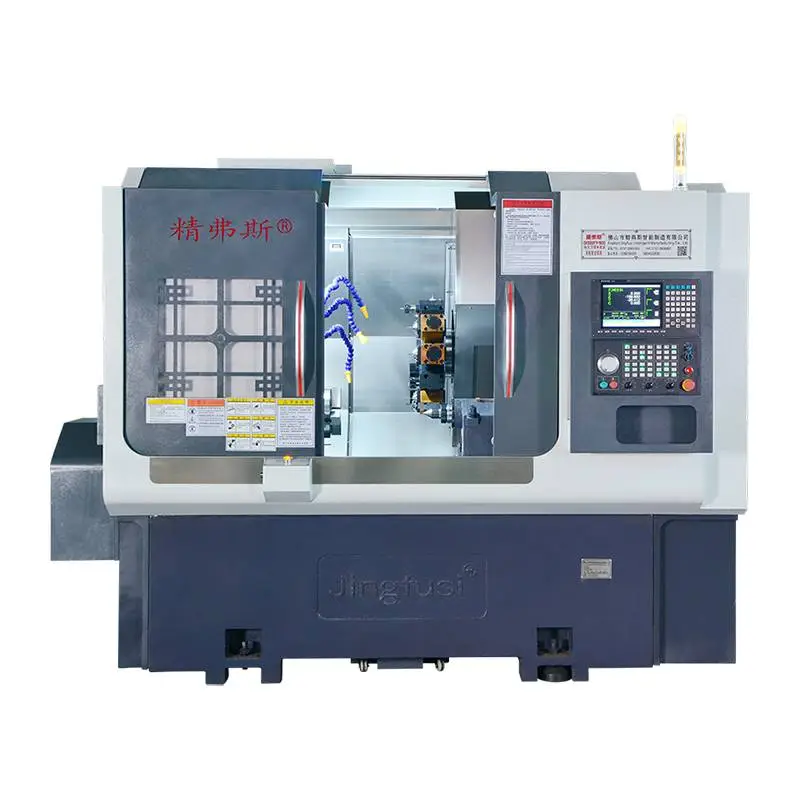
How to Install a Turning-Milling Machine?
2024-09-20
The installation of a milling machine tool refers to the work done after the machine tool is transported to the user, installed at the workplace, and until it can work normally. For small CNC milling machine tools, this work is relatively simple. For large and medium-sized CNC milling machine tools, users need to assemble and re-debug, which is more complicated.
1. Installation preparation
Before the CNC milling machine tool is transported to the user, the user should first select the installation location according to the equipment requirements and the actual situation of the production site, and then make the machine tool foundation according to the basic drawing provided by the manufacturer, and make reserved holes at the location where the anchor bolts are installed.
2. Unpacking and Acceptance
After the machine tool arrives, it should be unpacked and inspected in time, and the packing list of the machine tool should be found. The items in the box should be checked one by one according to the packing list and the contract, and records should be made, including:
1. Whether the packaging box is intact, whether the turning and milling compound machine tool has obvious damage on the appearance, whether it is rusted or peeled;
2. Whether the technical data is complete;
3. The variety, specification and quantity of accessories;
4. The variety, specification and quantity of spare parts;
5. The variety, specification and quantity of tools;
6. The variety, specification and quantity of installation accessories, such as adjustment pads, anchor bolts, etc.;
7. Other items.
3. Lifting and positioning of machine tools
Use the special lifting tools provided by the manufacturer (if special tools are not required, wire ropes should be used to lift according to the specified parts in the manual) to put the major components of the machine tool in place on the foundation. When in place, pads, adjustment pads and anchor bolts should also be placed accordingly.
4. Assembly and connection of machine tools
After the machine tool is initially in place, the next step is the assembly of machine tool components and the connection of the CNC system.
The assembly of machine tool components refers to the process of synthesizing the disassembled and transported machine tool into a complete machine. Before assembly, pay attention to the cleaning of the surface of the components, clean the anti-rust paint on all connection surfaces, guide rails, and positioning parts, and then accurately and reliably connect and assemble the components into a complete machine. In the process of assembling the column, CNC cabinet, electrical cabinet, tool library and manipulator, the connection and positioning between the various parts of the machine tool require the use of original positioning pins, positioning blocks and other positioning elements to better restore the assembly state of the machine tool before disassembly and maintain the original manufacturing and installation accuracy of the machine tool. After the components are assembled, connect the cables, oil pipes and air pipes according to the markings of the cables and pipe joints in the manual. When connecting, pay attention to neat and reliable contact and sealing.
The connection of the CNC system refers to the connection of the CNC device and its supporting feed and spindle servo drive units, mainly including the connection of external cables and the connection of the CNC system power supply. Before connection, carefully check the CNC system device of the milling machine tool and the MDI/CRT unit, position display unit, paper tape reader, power supply unit, printed circuit boards and servo unit, etc. If any problem is found, timely measures should be taken or replacement should be made. Whether the connecting parts in the connection are inserted in place and whether the fastening screws are tightened should be given enough attention, because failures caused by bad connections are the most common. In addition, the CNC milling machine tool must have a good ground wire to ensure the safety of equipment and personnel and reduce electrical interference. The protective ground wire must be connected between the servo unit, servo transformer and high-voltage cabinet.


X
We use cookies to offer you a better browsing experience, analyze site traffic and personalize content. By using this site, you agree to our use of cookies.
Privacy Policy