 English
-
 English
 -
 Français
 -
 日本語
日本語 -
 Deutsch
 -
 tiếng Việt
 -
 Italiano
 -
 Nederlands
 -
 ภาษาไทย
 -
 Polski
 -
 한국어
한국어 -
 Svenska
 -
 magyar
 -
 Malay
Malay -
 বাংলা ভাষার
 -
 Dansk
Dansk -
 Suomi
Suomi -
 हिन्दी
 -
 Pilipino
 -
 Türkçe
 -
 Gaeilge
 -
 العربية
 -
 Indonesia
 -
 Norsk
Norsk -
 تمل
تمل -
 český
český -
 ελληνικά
 -
 український
 -
 Javanese
 -
 فارسی
فارسی -
 தமிழ்
தமிழ் -
 తెలుగు
 -
 नेपाली
 -
 Burmese
 -
 български
 -
 ລາວ
ລາວ -
 Latine
 -
 Қазақша
 -
 Euskal
 -
 Azərbaycan
 -
 Slovenský jazyk
 -
 Македонски
 -
 Lietuvos
 -
 Eesti Keel
 -
 Română
 -
 Slovenski
 -
 मराठी
मराठी -
 Srpski језик
 -
 Español
 -
 Português
Home
>
Products > Turning and Milling Combined Machine
>
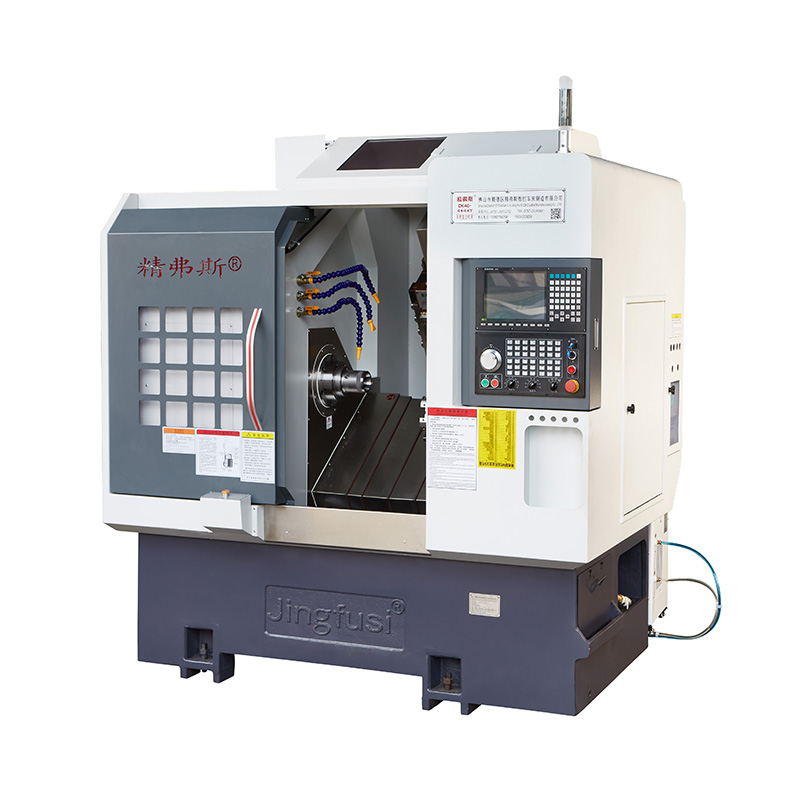
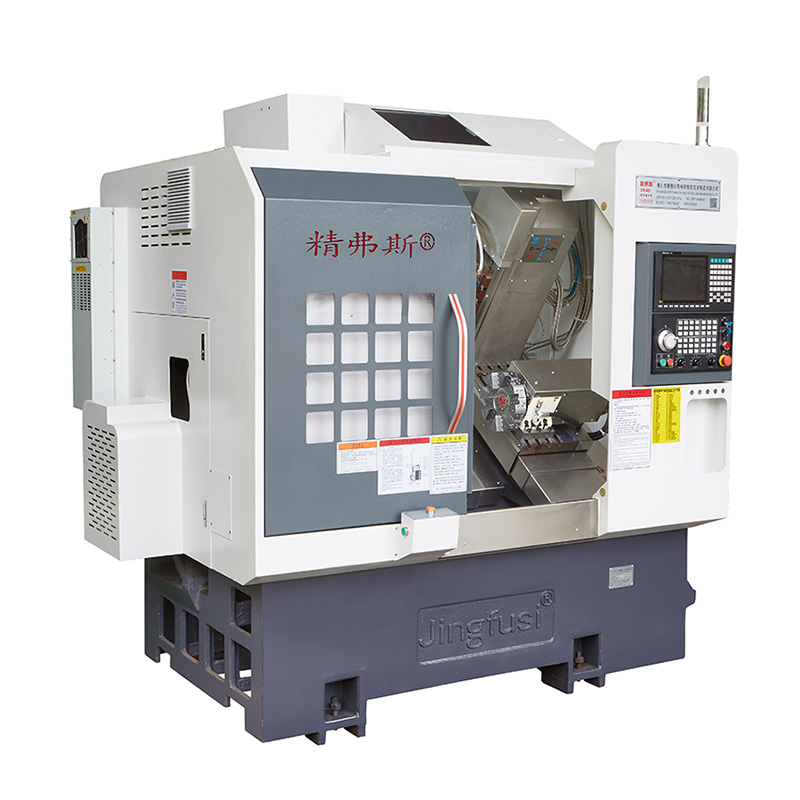
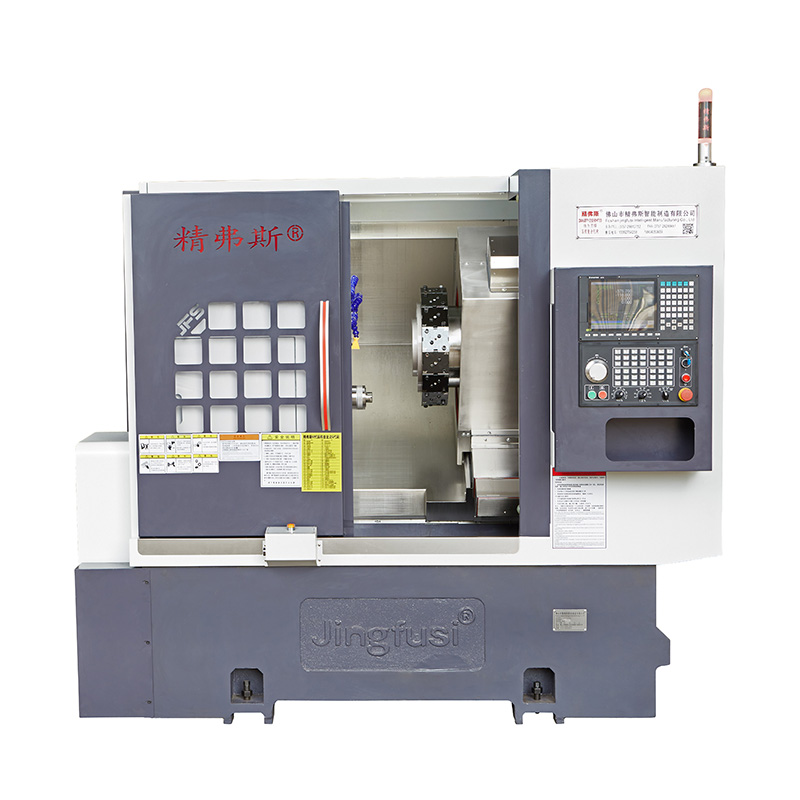
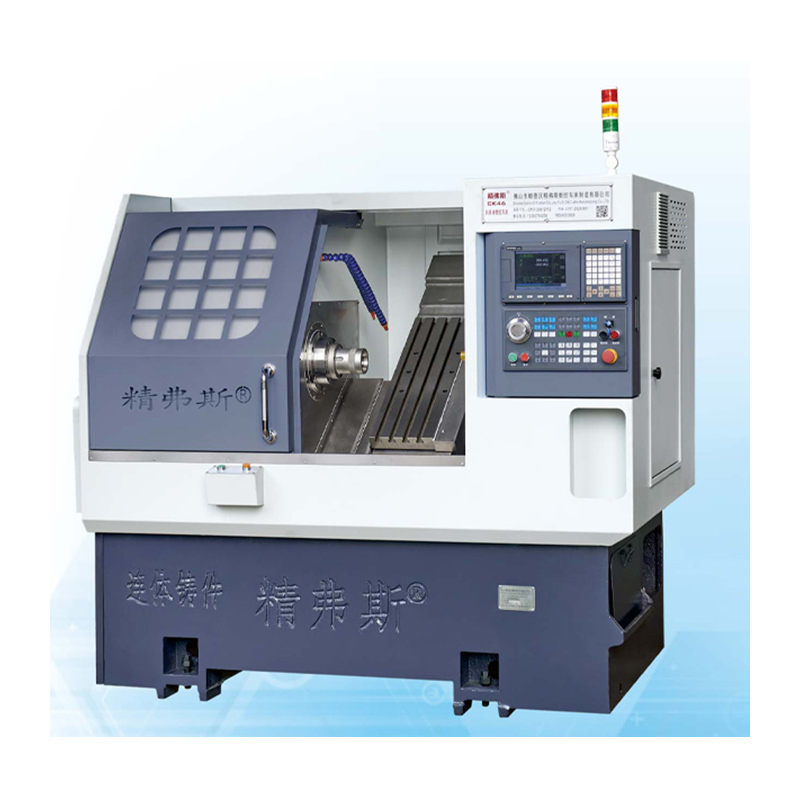
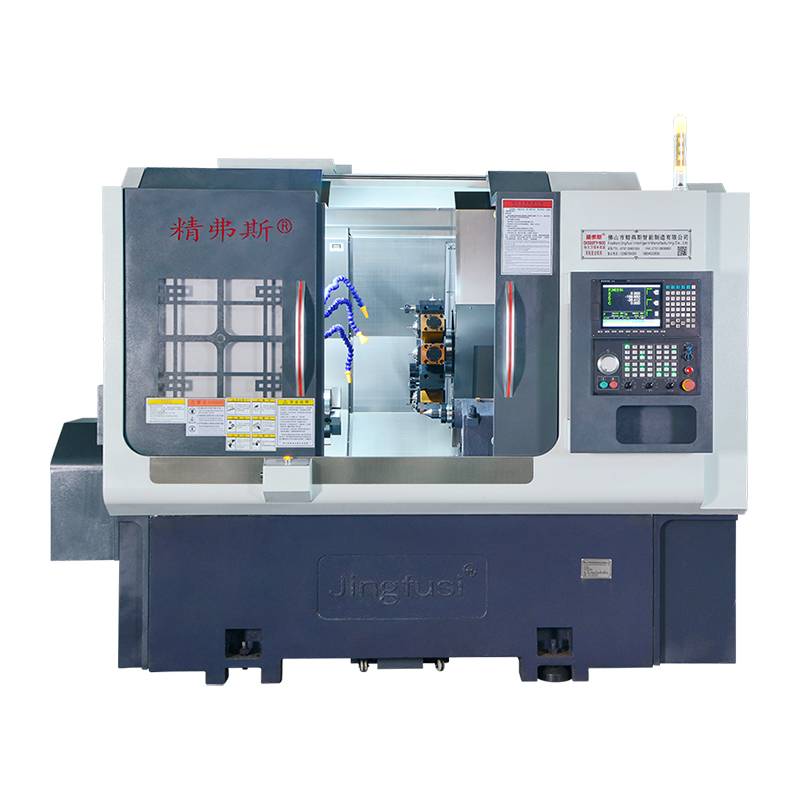
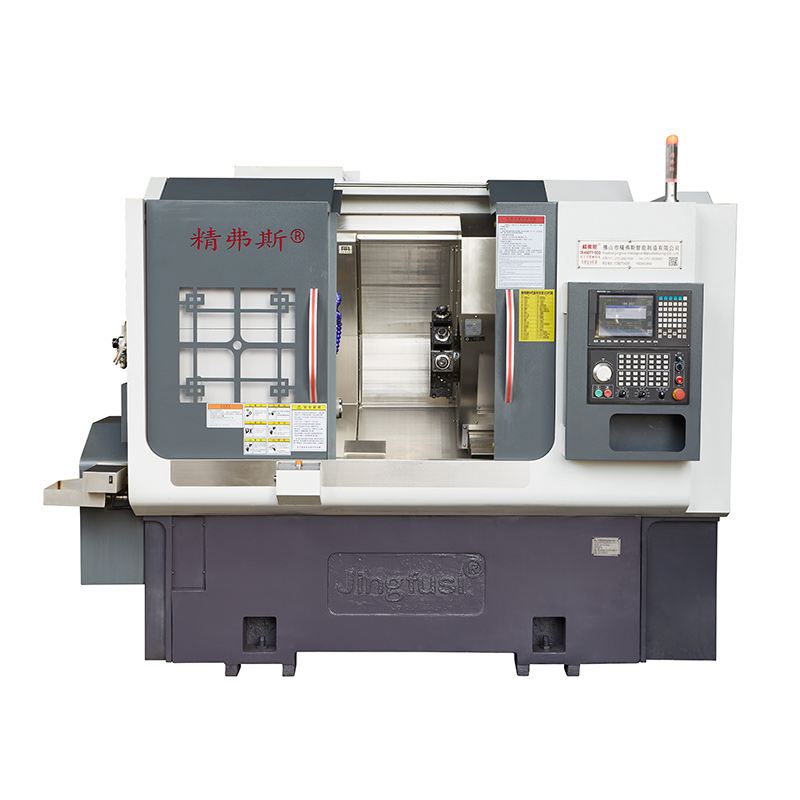
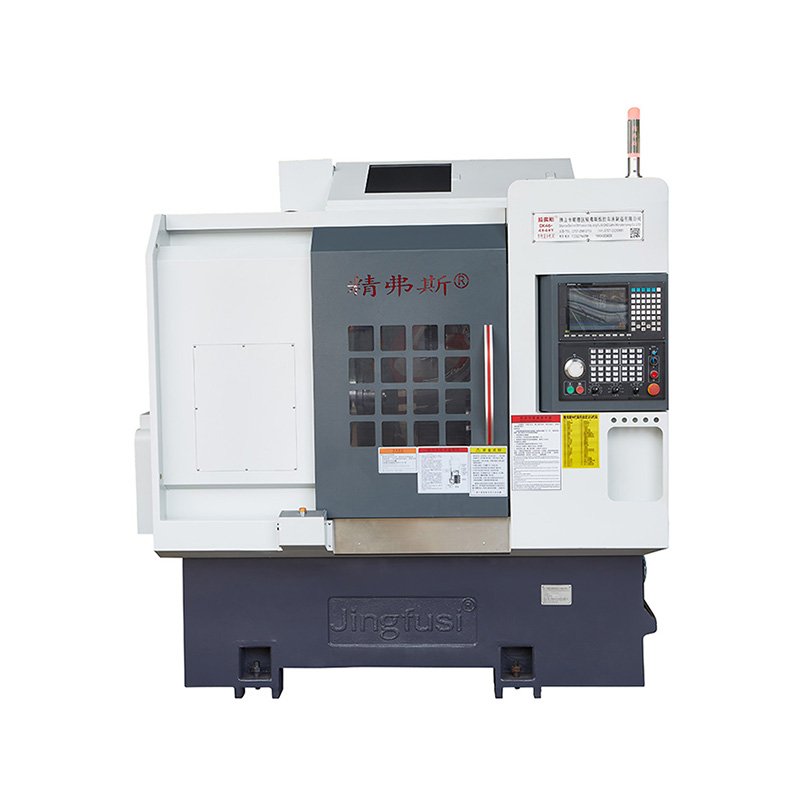
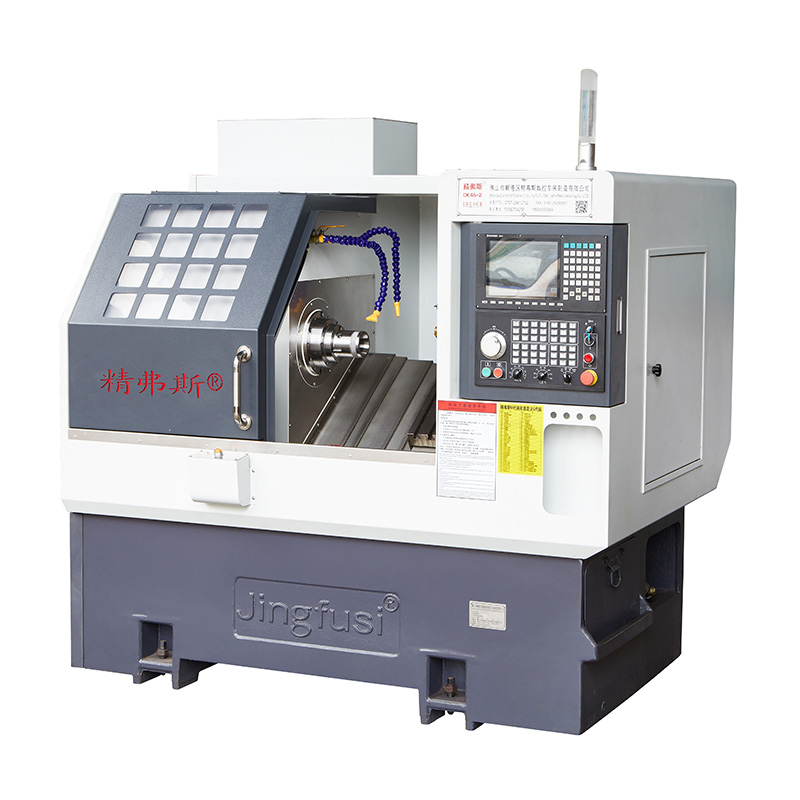
CNC Turning Milling Compound Machining Center
CNC Turning Milling Compound Machining Center
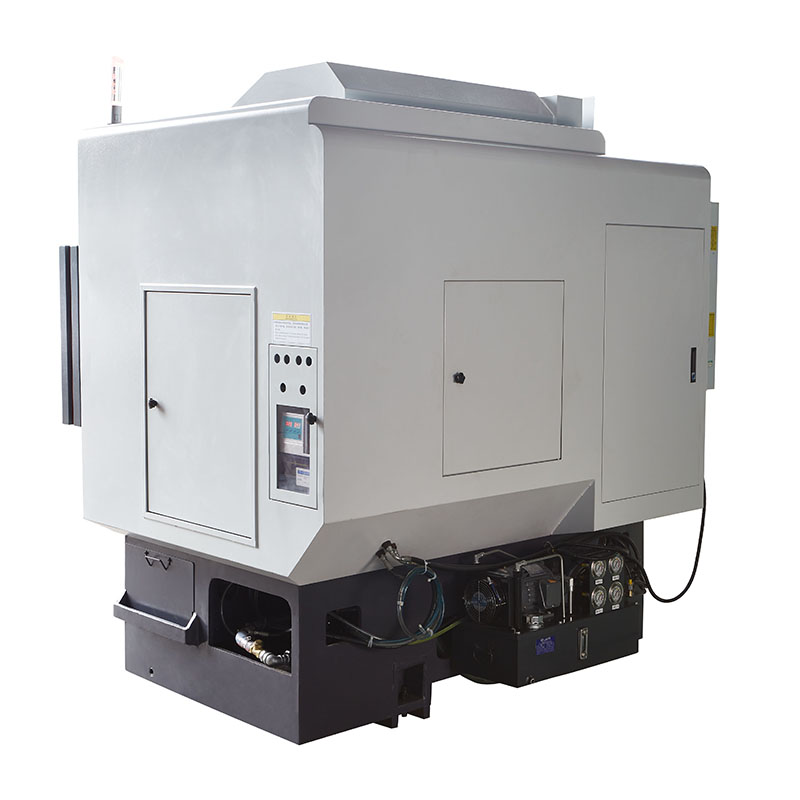
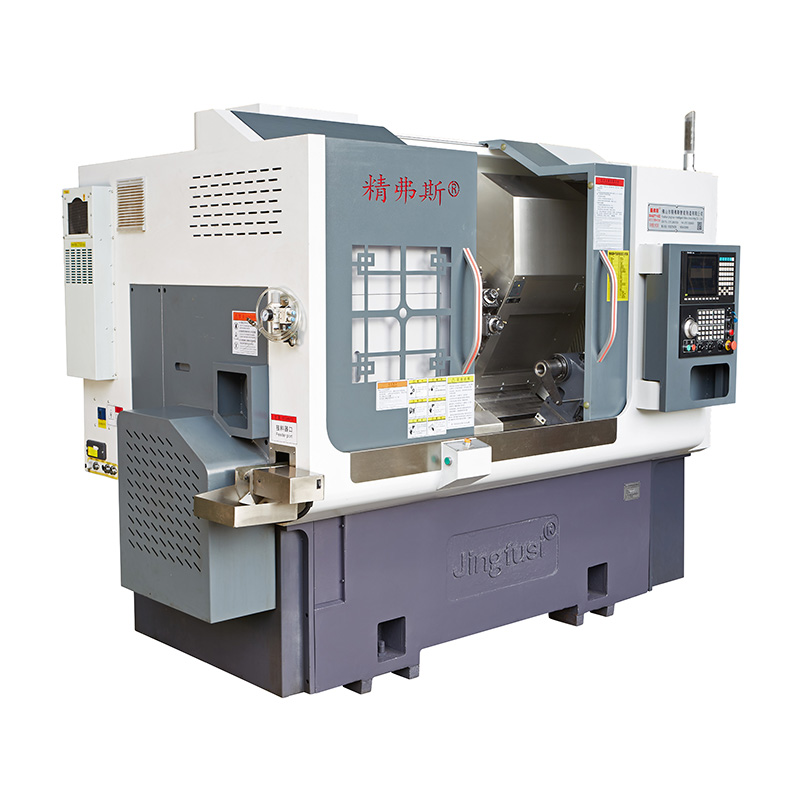
The CNC Turning Milling Compound Machining Center is ideal for manufacturing intricate and highly precise rotary components. It enables the completion of the majority, if not all, of the machining operations in a single setup. This not only guarantees precision but also enhances productivity and cost-effectiveness.
Model:CK46-4+4+Y
Send Inquiry
Product Description
Characteristics of CNC Turning Milling Compound Machining Center:
Minimized Clamping: Decreases the need for multiple clamping operations, enhancing both efficiency and accuracy.
Rapid Tool Changes: Supports high-speed tool changes, simplifying tool arrangement for more convenient machining.
Comprehensive Machining: Offers a range of functions to facilitate composite processing of end faces and sides, enabling versatile machining capabilities.
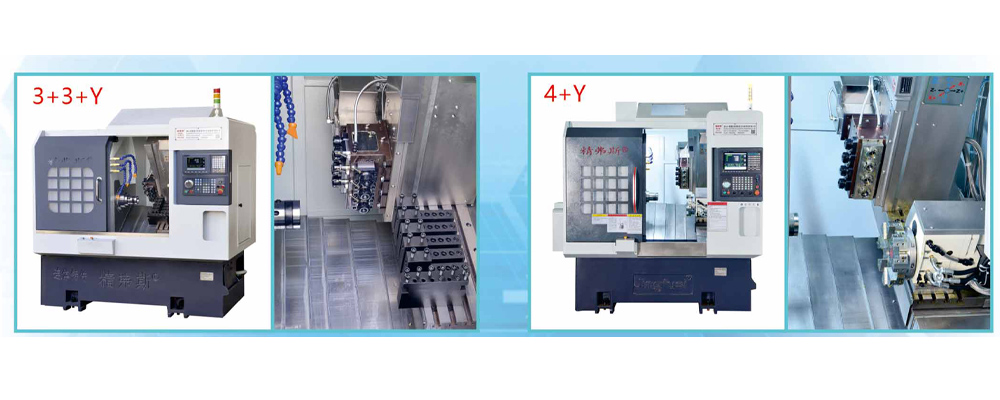
Machine Travel Diagram
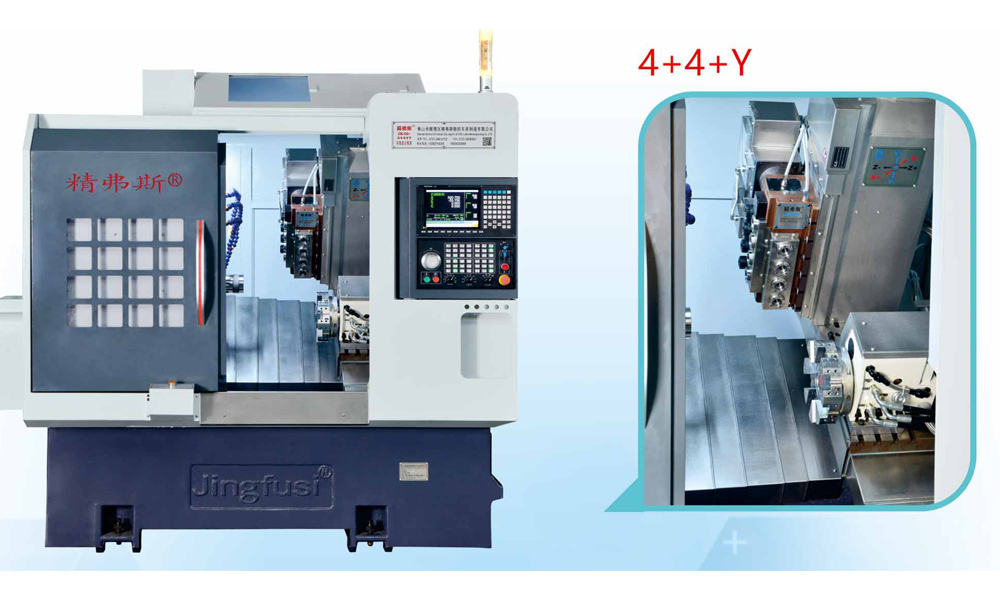
Product Details
Parameter List
| item | Model of lathe | unit | CK46-4+4+Y | CK52-4+4+Y |
| Processing scope | Swing over bed | mm | Ø 500 | |
| Maximum turning outer circle length | mm | 320 | ||
| Maximum bar diameter | mm | Ø 45 | Ø 51 ~ 55 | |
| principal axis | Spindle head type |
|
A2 - 5 | A2 - 6 |
| Spindle through-hole diameter | mm | Ø 56 | Ø 66 | |
| Maximum spindle speed | r/min | 6000 (set to 4500) | 4500 (set to 3500) | |
| feed | Effective travel of X/Z/Y axis | mm | 800/470/260 | |
|
Maximum fast movement of X/Z/Y axis |
m/min | 24 (Setting 18)/24 (Setting 18)/15 (Setting 8) | ||
| X/Z/Y axis screw rod | mm | 32/32/25 | ||
| X/Z/Y axis rail | mm | 35/35/25 | ||
|
Knife tower |
Eight station turret | PCS | 8 stations, can be equipped with double hole tool holders, optional with 12 stations | |
| Power head | Power head tool holding form |
|
ER25 | |
| Power head tool | PCS | Z-axis 4+X-axis 4, with 4 additional fixed tool holders installed | ||
| Maximum speed of power head | r/min | 6000 (set to 4000), can be commonly used to process products from 4000 | ||
| Distance between power head shaft and shaft | mm | 65 | ||
| electrical machinery | Main motor power/torque | KW/Nm | New generation 7.5KW, 47.75NM. Steel parts with a processing capacity of over 80 can be optionally equipped with 11KW, 70.03Nm | |
| X/Z/Y axis motor power/torque | KW/Nm | 1.3KW/8.39NM | ||
| X/Z power head motor power/torque | KW/Nm | 1.7 KW/8NM | ||
| Maximum speed of power head motor | r/min | 5000 | ||
| other |
Spindle positioning brake device |
|
hydraulic pressure | |
| Bed inclination | ° | 35° | ||
| Machine tool length X width X height | mm | 2200X1580X1900 | ||
| Total weight of the entire machine | KG | 3430 | ||
| Total power | kw | 13 | ||
| Average power consumption | kw/h | 2 | ||
Machine Tool Accuracy
| Machine accuracy,Jingfus factor standard : | ||||||||
| Major test item | Schematic diagram | Factory standard | ||||||
| Spindle radial beat |
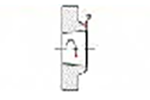
|
Detect runout of outer cone | 0.0035 | |||||
| X-axis repeat position |
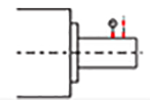
|
Detect repeated positioning of the X-axis. Note: First predict about 50 times to offset the error of the cold engine and hot engine, and then detect the repeated positioning. | 0.003 | |||||
| Z-axis repeat position |
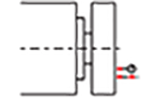 |
Detect repeated positioning on the Z axis. Note: First predict about 50 times to offset the error of the cold engine and hot engine, and then detect the repeated positioning. | 0.003 | |||||
| Y-axis repeat position |
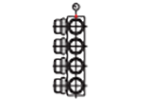
|
Detect repeated positioning on the Y axis. Note: First predict about 50 times to offset the error of the cold engine and hot engine, and then detect the repeated positioning. | 0.004 | |||||
| C axis repeat position |
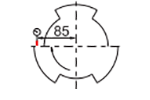
|
Detect the repositioning of the C-axis fixed point, note: first predict about 50 times to offset the error of the cold engine and hot engine, and then detect the repeated positioning | 20 arc seconds | |||||
| C axis position rotary |
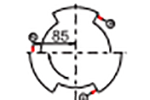
|
Detect the random position accuracy of the C-axis, note: first predict about 50 times to offset the error of the cold engine and hot engine, and then check the repeated settings | 72 arc seconds | |||||
| Power head clamping beat |
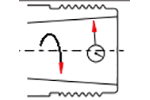
|
Cone beat | 0.015 | |||||
| Power head clamping beat |
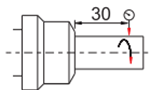 |
Clamping beating | 0.01 | |||||
| If the customer wants to test the ISO or VD1 accuracy of X/Z/Y axis, it shall be determined at the time of writing the contract. The customer must test this item at the same time of the initial acceptance of Jingfusi Factory. | ||||||||
Hot Tags: CNC Turning Milling Compound Machining Center, China, Manufacturers, Suppliers, Factory, Quality, Price List
Send Inquiry
Please feel free to fill your inquiry in the form below. We will reply you in 24 hours.
Related Products
X
We use cookies to offer you a better browsing experience, analyze site traffic and personalize content. By using this site, you agree to our use of cookies.
Privacy Policy


